
In this post
- At a Glance
- Why Grandma’s Quick Time Slipper Knitting Pattern Works So Well
- Materials and Tools Needed
- Choosing the Right Bulky Yarn for Slippers
- Step-by-Step Instructions for Grandma’s Quick Time Slipper Knitting Pattern
- Variations and Customizing Your Slippers
- Troubleshooting Common Slipper Knitting Issues
- Care and Washing
- Frequently Asked Questions
- Start Your Cozy Garter Stitch Slipper Project
When cold floors call for immediate warmth, learning Grandma’s Quick Time Slipper Knitting Pattern gives you a reliable, cozy solution in an afternoon. This simple flat-knitted design uses basic stitches and thick yarn to create dense, squishy footwear that cushions every step. Whether you need a fast gift or want to practice essential flat-knitting and seaming skills, this beginner project delivers practical results in just 2-3 hours.
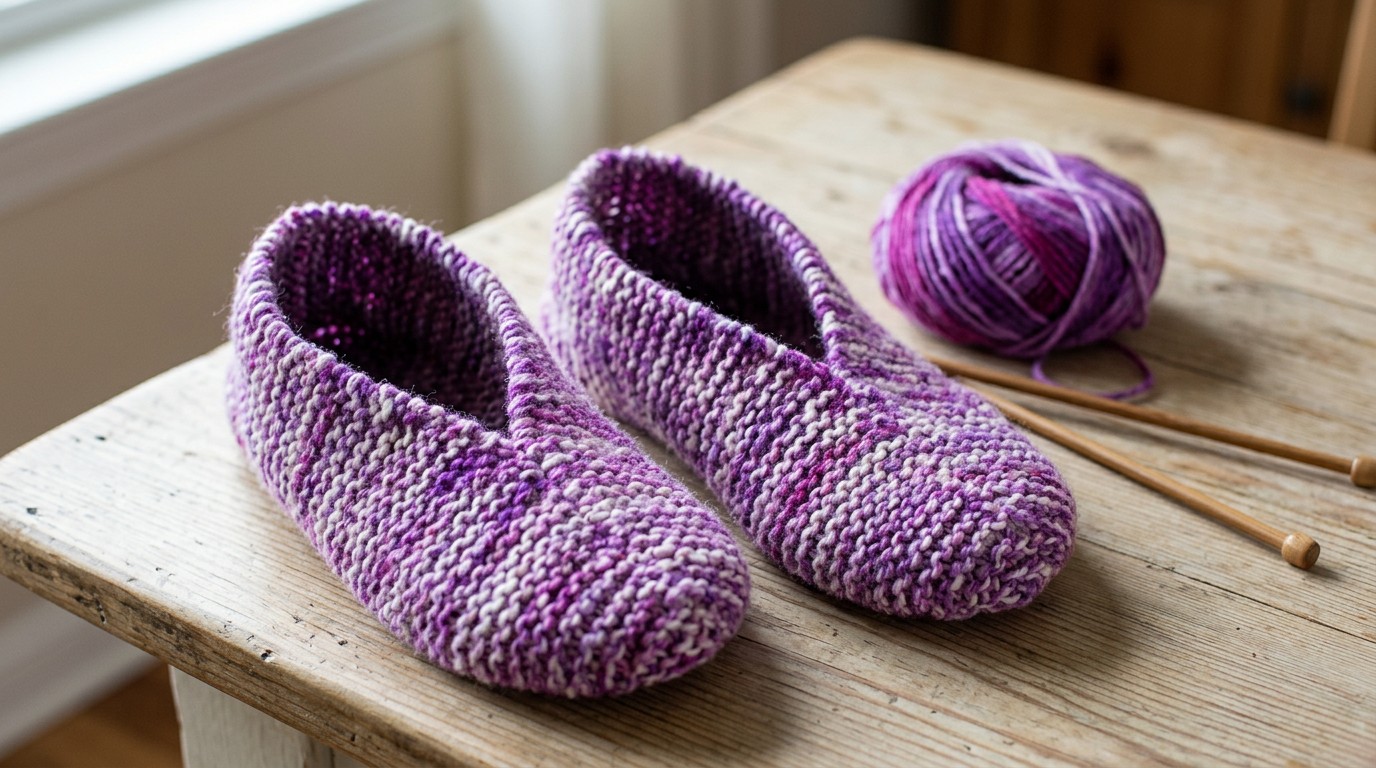
The slippers feature a classic low-cut shape constructed entirely from flat garter stitch panels. By combining straightforward row repeats with simple decreases, you form a soft, heathered fabric with a mottled blend of purple, white, and dark charcoal tones. A few quick seams at the toe and heel pull the flat piece into a comfortable, fitted slipper that stays snug around the foot.
At a Glance
| Skill Level | Time to Complete | Finished Dimensions | Yarn | Key Technique |
|---|---|---|---|---|
| Beginner | 2-3 hours | width 8.0 in, length 8.4 in, circumference 8 in | Bulky garter stitch | Flat knitting and seaming |
Why Grandma’s Quick Time Slipper Knitting Pattern Works So Well
The effectiveness of this traditional design lies in the natural elasticity and thickness of garter stitch. Knitting every row creates a reversible, ridged fabric that naturally contracts widthwise while expanding to hug the contours of your foot. Because the ridges create horizontal rows of purl bumps on both sides, the resulting fabric provides double the cushioning of stockinette stitch without adding complicated stitch patterns.
Working the slippers flat on straight needles eliminates the need for double-pointed needles, magic loop, or picking up gusset stitches. You knit a simple rectangle, shape the toe with four decrease rows, and seam the edges. This straightforward geometry makes the project accessible even if you have only mastered casting on and the knit stitch.
Pro tip: Maintain a firm, consistent tension on your knit stitches so the resulting fabric is dense enough to insulate against cold hard surfaces.
Materials and Tools Needed
Gather the required yarn, needles, and notions before starting your project.
- 180 yards (165 m) Bulky weight #5 yarn (70% acrylic, 30% wool blend) in Variegated Purple Heather (purple, white, and dark charcoal blend)
- One pair of 6.0 mm (US 10) straight knitting needles (or circular needles used flat)
- Tapestry / yarn needle
- Tape measure
- Scissors
Choosing the Right Bulky Yarn for Slippers
Selecting the correct yarn weight and fiber content directly affects how long your slippers last and how warm they feel. A bulky weight #5 yarn knit on 6.0 mm (US 10) needles balances quick progress and structural stability. Thin yarns produce a flimsy sole that wears thin quickly, while excessively thick roving yarns can feel bulky underfoot and shed during wear.
A blend of 70% acrylic and 30% wool provides durability, elasticity, and warmth. Wool fibers trap body heat and allow breathability, while synthetic acrylic fibers reinforce the sole against constant floor friction and prevent the fabric from stretching out of shape permanently. Variegated or heathered colorways also help disguise small surface wear over time.
Pro tip: Avoid loosely spun single-ply yarns, as the friction of walking can cause them to pill rapidly along the bottom of the foot.
Step-by-Step Instructions for Grandma’s Quick Time Slipper Knitting Pattern
Follow the precise pattern steps below to cast on, shape the toe decreases, and seam your slippers into shape.
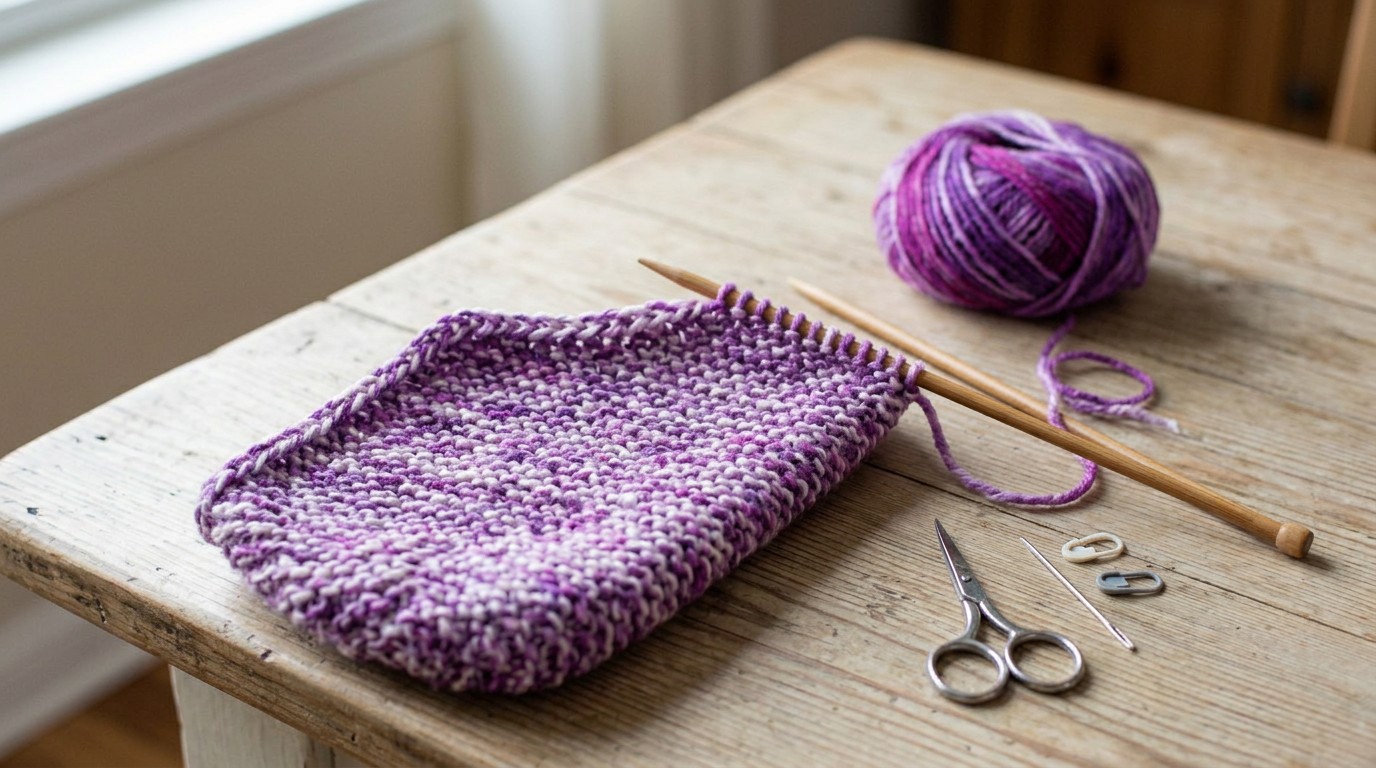
Finished size: 8 in (20.3 cm) wide x 8.4 in (21.3 cm) long (calculated from the gauge)
Gauge: 14 sts and 28 rows = 4 in (10 cm) in garter stitch on 6.0 mm (US 10) needles
Abbreviations (US terms)
| Abbreviation | Meaning |
|---|---|
| k | knit |
| k2tog | knit 2 stitches together (decrease) |
| rep | repeat |
| RS | right side |
| WS | wrong side |
| sts | stitches |
| tog | together |
Pattern Notes
- Slippers are worked flat in one rectangular piece from the heel toward the toe using garter stitch (knit every row).
- After toe decrease rows, the remaining stitches are drawn tight, the piece is folded lengthwise, and the top instep and back heel are seamed.
- Garter stitch fabric is highly stretchy and accommodates various foot widths comfortably.
- Stitch gauge is 3.5 sts per inch; row gauge is 7 rows per inch.
First Slipper (Variegated Purple Heather)
- Cast On: Using 6.0 mm needles and variegated purple yarn, cast on 28 sts using the long-tail cast-on method (28 sts)
- Row 1: (RS): Knit all 28 sts across (28 sts)
- Rows 2-52: Knit all 28 sts across on every row (28 sts)
- Row 53: (RS – Toe Decrease): *K2tog, k5; rep from * 4 times total across (24 sts)
- Row 54: (WS): Knit all 24 sts across (24 sts)
- Row 55: (RS – Toe Decrease): *K2tog, k2; rep from * 6 times total across (18 sts)
- Row 56: (WS): Knit all 18 sts across (18 sts)
- Row 57: (RS – Toe Decrease): *K2tog, k1; rep from * 6 times total across (12 sts)
- Row 58: (WS): Knit all 12 sts across (12 sts)
- Row 59: (RS – Toe Decrease): *K2tog; rep from * 6 times total across, cut yarn leaving an 18 in (46 cm) tail (6 sts)
Second Slipper (Variegated Purple Heather)
- Cast On: Using 6.0 mm needles and variegated purple yarn, cast on 28 sts using the long-tail cast-on method (28 sts)
- Row 1: (RS): Knit all 28 sts across (28 sts)
- Rows 2-52: Knit all 28 sts across on every row (28 sts)
- Row 53: (RS – Toe Decrease): *K2tog, k5; rep from * 4 times total across (24 sts)
- Row 54: (WS): Knit all 24 sts across (24 sts)
- Row 55: (RS – Toe Decrease): *K2tog, k2; rep from * 6 times total across (18 sts)
- Row 56: (WS): Knit all 18 sts across (18 sts)
- Row 57: (RS – Toe Decrease): *K2tog, k1; rep from * 6 times total across (12 sts)
- Row 58: (WS): Knit all 12 sts across (12 sts)
- Row 59: (RS – Toe Decrease): *K2tog; rep from * 6 times total across, cut yarn leaving an 18 in (46 cm) tail (6 sts)
Finishing
- Thread the 18 in (46 cm) end yarn tail from Row 59 through the eye of the tapestry needle.
- Slip the remaining 6 stitches off the knitting needle onto the tapestry needle, pull tight to cinch the toe closed, and take a small reinforcing stitch on the wrong side to secure the gather.
- Fold the slipper piece in half lengthwise with right sides facing (or aligned along the center top fold).
- Using the same yarn tail, seam the top edges together along the instep for 3.5 in (9 cm) working from the cinched toe backward toward the ankle opening. Knot securely on the inside and fasten off.
- Cut a new 16 in (41 cm) length of variegated yarn and thread the tapestry needle.
- Fold the cast-on edge in half at the heel. Align the vertical row-end edges at the back of the heel and whipstitch or mattress stitch them together from the bottom heel fold up to the top opening rim.
- Repeat all toe closing and seaming steps for the second slipper.
- Weave in all remaining loose yarn ends on the wrong side of both slippers with the tapestry needle and trim flush.
Variations and Customizing Your Slippers
While the pattern is written for a single standard size with finished dimensions of width 8.0 in, length 8.4 in, circumference 8 in, you can create visual interest by altering your yarn styling. Working with two high-contrast solid bulky yarns in alternating two-row stripes creates a bold, sporty look without altering the row counts or stitch structure.
You can also experiment with tweed or tonal bulky yarns to change the appearance of the garter ridges. For a cozier look, work the body in a heathered yarn and switch to a solid contrasting color for the four toe decrease rows. Keep the yarn weight identical across all color changes to maintain the specified gauge of 14 sts and 28 rows per 4 in (10 cm).
Troubleshooting Common Slipper Knitting Issues
Address common tension and assembly issues quickly by referencing the solutions below.
| Problem | Likely Cause | Fix |
|---|---|---|
| Slipper feels too loose on the foot | Loose knitting tension or stretched gauge | Check gauge against 14 sts and 28 rows per 4 in; switch to a smaller needle if needed. |
| Toe opening has a visible hole | Cinch tail was not pulled tight enough | Draw the 18 in yarn tail firmly through all 6 remaining stitches and secure with a knot on the inside. |
| Heel seam feels bulky under the heel | Whipstitch pulled too tightly or unevenly | Work a flat mattress stitch along the edge loops to create a smooth, comfortable join. |
| Instep opening is too tight to insert foot | Seamed too far up the front | Unpick the top seam and measure exactly 3.5 in (9 cm) back from the cinched toe point. |
Care and Washing
Hand wash cold with a mild wool-friendly detergent, gently press out excess moisture between clean towels without wringing, reshape, and lay flat to dry.
Frequently Asked Questions
Can I use worsted weight yarn instead of bulky yarn for this pattern?
You can use worsted weight yarn only if you hold two strands together to match the required bulky weight thickness. Make sure your combined strands achieve the gauge of 14 stitches and 28 rows across 4 in (10 cm) on 6.0 mm needles.
How do I adjust the slipper size for a larger or smaller foot?
Other sizes are not covered by this pattern, as it is written specifically for one size with finished dimensions of width 8.0 in, length 8.4 in, and circumference 8 in. Adjusting the size requires recalculating stitch and row counts to preserve the toe decrease proportions.
How should I seam the heel so it is comfortable to walk on?
Mattress stitch provides the flattest join when sewing the cast-on edges and row ends together. Catch only the innermost edge bumps of each garter ridge to avoid creating a thick ridge inside the slipper.
Do I need to block the pieces before seaming?
Blocking is not required for these slippers because the natural elasticity of unblocked garter stitch helps the footwear cling comfortably to the foot. Simply weave in your ends after seaming and put them on immediately.
Start Your Cozy Garter Stitch Slipper Project
This slipper pattern transforms bulky yarn into thick, wearable footwear in an afternoon. By working simple garter stitch and seaming the edges with precision, you produce warm, durable slippers ready for everyday wear. Keep your yarn tension firm throughout the body rows to maintain the sole structure.