In this post
- At a Glance: EASY CROCHET POPPY free pattern Details
- Why You Will Love This Beginner Crochet Project
- Materials and Tools Needed
- Choosing the Right Yarn and Hook
- Preparation and Basic Stitches
- Step-by-Step EASY CROCHET POPPY Instructions
- Creative Variations and Customizing Ideas
- Troubleshooting Common Applique Issues
- Care and Washing Instructions
- Frequently Asked Questions
- Bring Your Floral Applique to Life
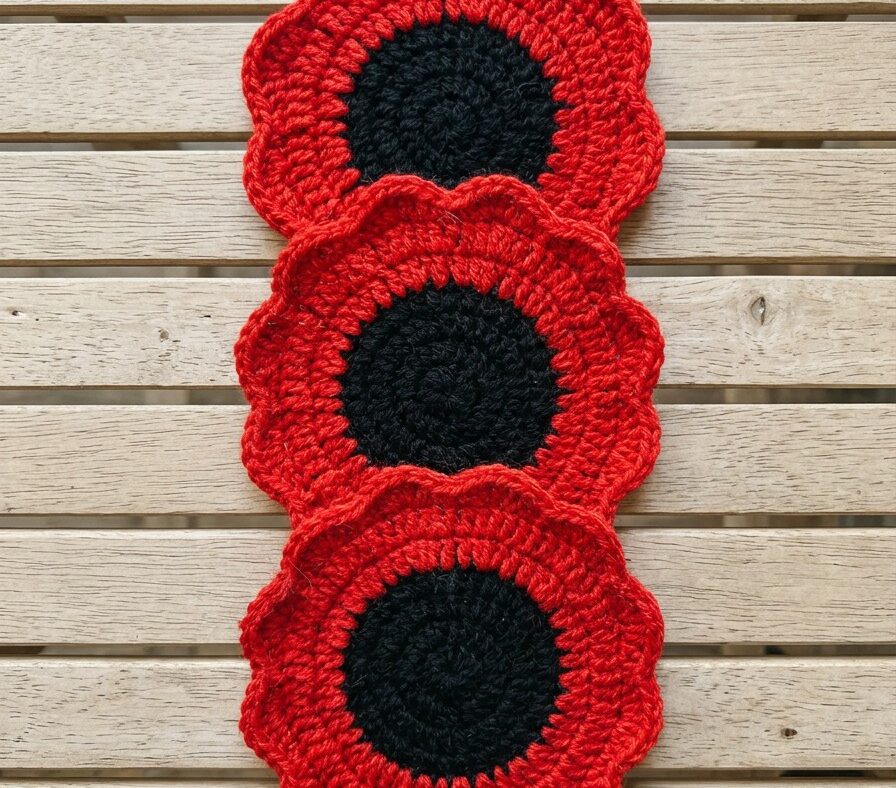
If you need a quick floral embellishment for your handmade projects, this EASY CROCHET POPPY free pattern provides a simple solution. Crochet appliques add color and handmade detail to accessories, blankets, and bags without requiring hours of work. This pattern is designed specifically for beginners, using basic stitches to build a classic flower with a textured center and scalloped petals in two fast rounds.
Working floral motifs in small scales helps you master working in the round and combining different stitch heights to create organic curves. You will complete a finished poppy applique measuring width 2.5 in, length 2.5 in in about 30 minutes, making it a useful scrap-busting pattern.
At a Glance: EASY CROCHET POPPY free pattern Details
Understanding the project specifications before picking up your hook ensures your finished piece matches the expected scale and drape.
| Skill Level | Beginner |
|---|---|
| Time to Complete | 30 minutes |
| Finished Dimensions | width 2.5 in, length 2.5 in |
| Main Yarn Weight | Worsted weight (category 4) acrylic |
| Key Technique | Working in the round and shaping petals with varying stitch heights |
Why You Will Love This Beginner Crochet Project
Crocheting small botanical pieces builds confidence with minimal yarn investment. This applique uses only two rounds, allowing you to see results almost immediately. It provides targeted practice with the magic ring, clean color changes, and stitch transitions without the fatigue of large-scale projects.
The structured design relies on fundamental stitch height variations. By pairing double crochet and treble crochet stitches within the same petal base, you create natural scalloped curves without complex shaping techniques. It is an efficient way to practice clean tension and stitch anatomy.
Materials and Tools Needed
The required supplies for this floral applique are minimal and work well with leftover yarn from your stash.
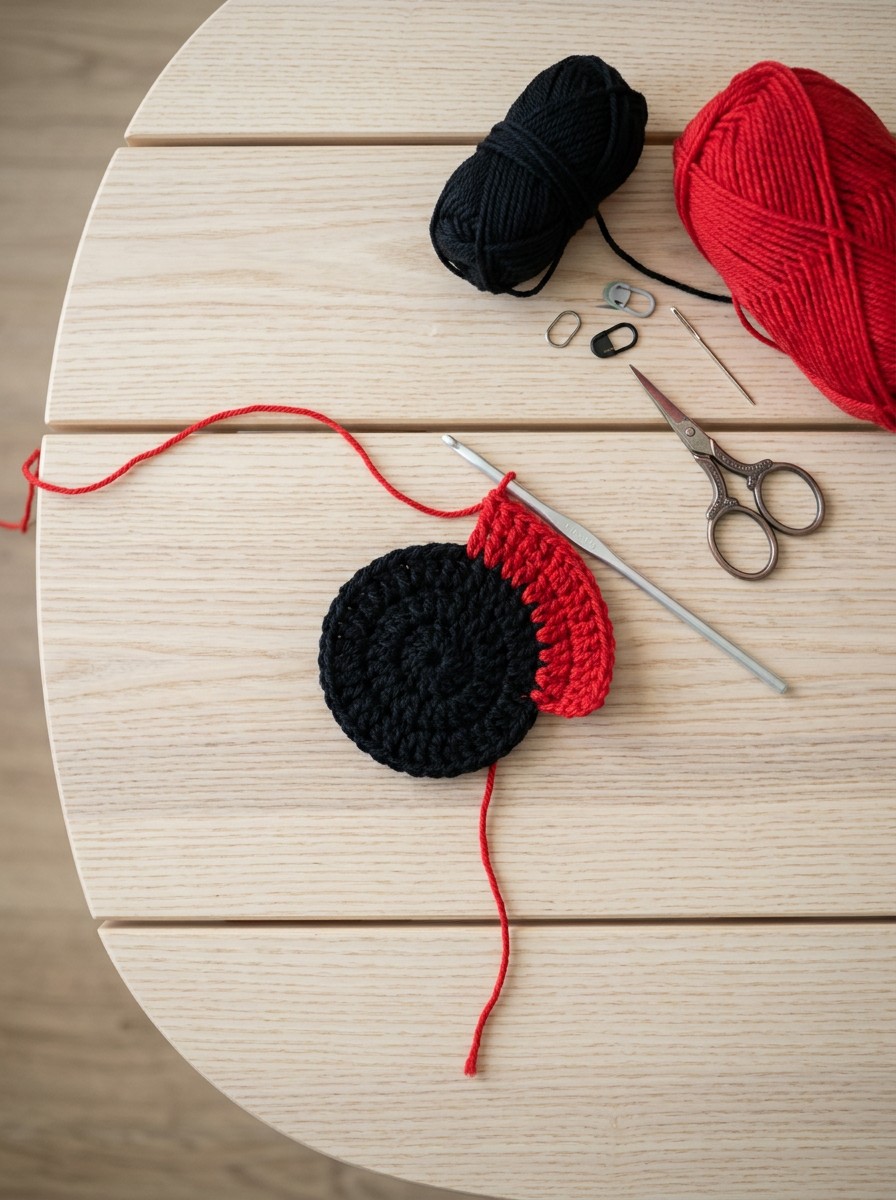
- Worsted weight (category 4) 100% acrylic yarn in Black (approx 5 yds / 5 m)
- Worsted weight (category 4) 100% acrylic yarn in Bright Red (approx 15 yds / 14 m)
- Size 5.0 mm (US H-8) crochet hook
- Yarn needle
- Scissors
- Measuring tape
Choosing the Right Yarn and Hook
Worsted weight (category 4) yarn provides a practical balance of stitch definition and ease of handling for small motifs. Acrylic yarn holds its shape firmly, which helps the petals stay flat and distinct. If you substitute with cotton yarn, ensure it is a category 4 medium weight so your stitch counts yield the correct width 2.5 in, length 2.5 in size.
Using a 5.0 mm (US H-8) hook creates even stitches that help keep the black center compact. If you crochet loosely, your petals may flop or flare excessively, while working too tightly can cause the applique to cup inward rather than laying flat.
Pro tip: Keep your starting chain and slip stitch tension relaxed when joining rounds to prevent the center ring from puckering.
Preparation and Basic Stitches
This project uses standard US crochet terminology. Before starting Round 1, make sure you are comfortable with the slip stitch (sl st), single crochet (sc), double crochet (dc), and treble crochet (tr). The petals gain their signature scalloped shape because the taller treble stitches sit between the shorter double crochet stitches and chain spaces.
You will start in the center with a magic ring worked in black yarn. Working into an adjustable loop ensures you can pull the center completely shut, leaving no visible hole before switching to the bright red yarn for Round 2.
Step-by-Step EASY CROCHET POPPY Instructions
Follow the complete written pattern instructions below to crochet your applique from the center outward.
Finished size: 2.5 in (6.3 cm) across (circle, calculated from the gauge)
Gauge: 16 sts and 8 rounds = 4 in (10 cm) in double crochet using 5.0 mm hook
Abbreviations (US terms)
| Abbreviation | Meaning |
|---|---|
| ch | chain |
| sc | single crochet |
| dc | double crochet |
| tr | treble crochet |
| sl st | slip stitch |
| rnd | round |
| RS | right side |
| magic ring | adjustable loop technique to begin crocheting in the round without a center hole |
| sps | spaces |
| st | stitch |
| sts | stitches |
| ws | wrong side |
Pattern Notes
- Pattern is worked in joined rounds with RS always facing.
- Do not turn at the end of rounds.
- Starting ch 1 does not count as a stitch.
- Fasten off Black at the end of Round 1. Red is joined into any stitch of Round 1 to start Round 2.
- Each petal spans across 2 single crochet stitches from the center ring, creating 4 broad, overlapping scalloped petals.
Poppy Applique
- Rnd 1: (RS): With Black, make a magic ring, ch 1 (does not count as a st), work 8 sc into ring; pull tail firmly to close ring, join with sl st to first sc; fasten off Black (8 sc).
- Rnd 2: Join Bright Red with sl st in first sc; *in next sc work (ch 3, 2 dc, 1 tr), in next sc work (1 tr, 2 dc, ch 3, sl st)* 4 times; join with sl st to base of first ch-3 (4 petals with 24 sts and 8 ch-3 sps) (32 sts)
Finishing
- Cut Bright Red yarn leaving a 6 in (15 cm) tail and fasten off.
- Pull the magic ring center tail firmly once more on the WS to ensure the center hole is completely closed.
- Using a yarn needle, thread the Black center tail and weave it securely through the base of the Round 1 stitches on the WS, then trim excess.
- Weave in all remaining Black and Bright Red yarn tails on the WS of the flower, ensuring no red tails show through the black center.
- Gently shape each of the 4 petals outward with fingers to enhance the scalloped curve.
Creative Variations and Customizing Ideas
While the pattern is designed for one specific size, you can adapt your approach using your existing craft stash:
- Use leftover scrap acrylic yarn in category 4 to practice your petal tension before working your final piece.
- Work several individual appliques to arrange together on a bag, blanket corner, or pillow cover.
- Experiment with matte category 4 cotton yarn to achieve a crisp, distinct stitch definition on the petal edges.
Troubleshooting Common Applique Issues
Small motifs highlight tension inconsistencies quickly. Use this troubleshooting guide to resolve any construction challenges.
| Problem | Cause | Solution |
|---|---|---|
| Center hole remains open | Magic ring tail was not pulled tight or came loose | Pull the black tail firmly on the WS and weave it securely through the Round 1 sc bases before trimming. |
| Petals cup forward instead of laying flat | Tension is too tight across the treble crochet stitches | Relax your tension on the tall stitches so the petal edge has enough ease to expand outward. |
| Uneven petal shapes | Stitches worked into the wrong base stitches | Verify that each petal uses exactly 2 sc bases from Round 1, following the specific stitch sequences. |
Care and Washing Instructions
To preserve the shape, texture, and stitch definition of your finished acrylic applique, use the appropriate cleaning method. Hand wash cold, lay flat to dry. Avoid wringing or twisting the petals when wet to maintain the flat, scalloped edges.
Frequently Asked Questions
How long does it take to crochet a poppy applique?
This beginner project takes approximately 30 minutes from the initial magic ring to weaving in the final yarn tails. Because it consists of only two rounds, it works up very quickly.
Can I use cotton yarn instead of acrylic for this pattern?
Yes, you can substitute worsted weight (category 4) cotton yarn. Ensure you maintain the same gauge so the finished applique retains its structural integrity and width 2.5 in, length 2.5 in measurements.
How do I keep the magic ring center tightly closed?
Pull the starting black yarn tail firmly after completing Round 1, and again on the wrong side before weaving. Weaving the tail through the base of the stitches in multiple directions locks the ring permanently shut.
What is the finished size of this crochet poppy?
Using worsted weight category 4 yarn and a 5.0 mm (US H-8) crochet hook, the finished applique measures width 2.5 in, length 2.5 in. Working with different yarn weights is not covered by this pattern.
Bring Your Floral Applique to Life
Working through this EASY CROCHET POPPY free pattern gives you a versatile, classic floral piece with minimal time and yarn commitment. By practicing basic stitch height graduation and working in the round, you achieve clean, scalloped petals every time. Take a moment to finger-shape each finished petal after weaving your ends so your applique lays flat on your final project.